Creative studios, blog 2: Week 2 Workflow Lab
At the beginning of the course we had a workflow lab on digital printmaking in Photoshop, this was on Teams and led by technician Stephan Calcutt. This session looked at how to place different images on top of each other to make one image, this can be by using different art forms and blending them together. This technique made me look at what kind of art forms I could use to create an image and collaborate with my peers from different areas of art.
Notes from session…
Digital printmaking
Andy Warhol
Lino pressers - create this in photoshop without physically printing.
Scan and photographic textures
Visual language
Printmaking > Mark-making
You do not have to us photoshop > photoshop alternative Gimp which is free.
Process of Digital printmaking
Photoshop > open files > new document > name > units to cm, A3, w - 29.7cm h - 42cm res - 300 pix > cmyk colour > check image size > control T to make the image bigger > select square tool (2 down) > select part you want to cut out > paste on to blank page > window - layers - will paste on to new layer when pasting - name this to keep track (double click text) > move tool first > Moved and resized (be careful not pixelate) > Command T to resize (so that the proportions remain the same) > return key - reply transformation > image - adjustments> threshold (change the pixels to black or white) > move to change the detail (image is black or white no grey scale anymore) > change colour image - adjustments > hue/saturation > click colorize (so every pixel is included) change and hit ok > add another layer, use square tool again - copy - paste on top of the other layer - rename layer > images - adjustments - threshold > adjustments > hue/saturation > click colorize > 2 layers to interact select 2nd layer - normal - to multiply - layers over the other layer - blend in > repeat steps on other layers > move to next step > select magic wand tool (3rd down) > click and hold to pick which one > click on image you want to cut out > use shape tool to stamp out an area of your layers (main piece ) > click and drag to move the image you selected - do not let go - drag up to the layer you want and the drag down to where you want to put it - let go > will give you the shape to cut out > shape needs to be a continuous line to use magic wand - fill images if you need > command c > go to project - art > drop on to work > resize and place > image - adjustments - threshold - adjustment - hue/saturation > magic wand > press step by step - keep hold of shift key > select - transform selection - if too small - grab make it bigger - turn key - control c > paste in to final image > usual adjustments > then repeat for rest of the image.
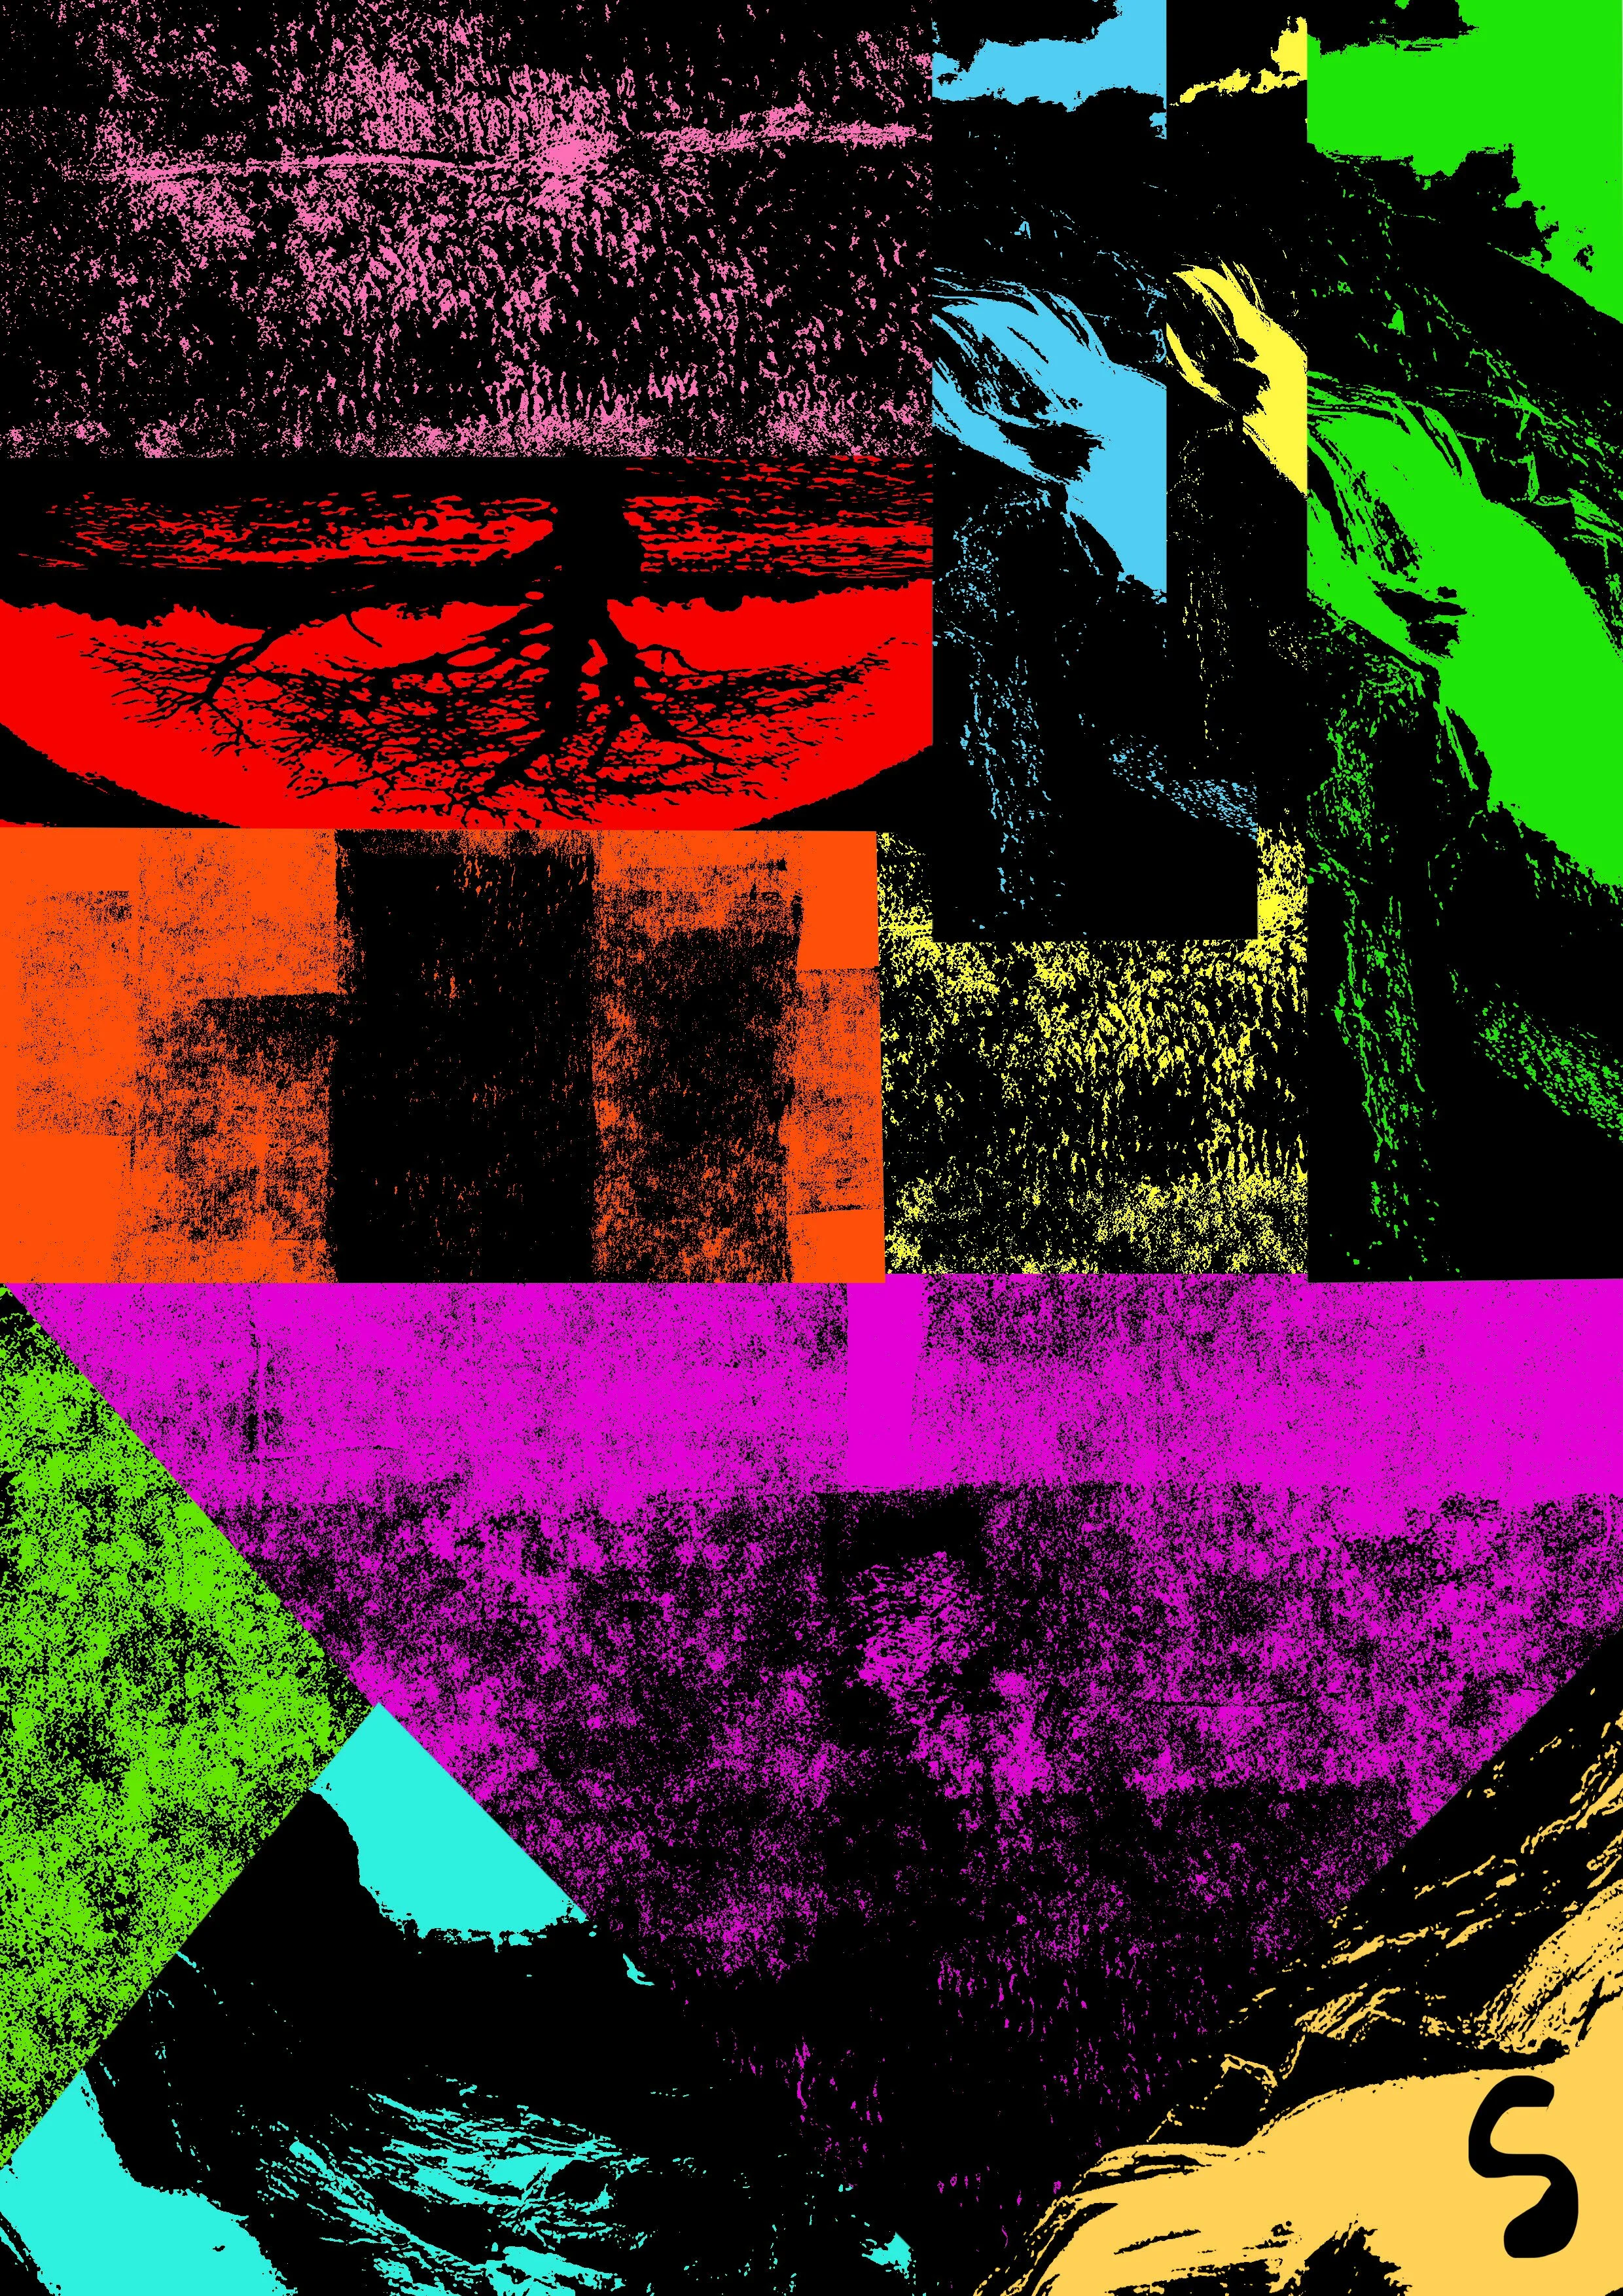
After this workshop I used Photoshop and did some of my own printmaking using different images I found on the internet (see below).
While digital printmaking, I realised I could use this strategy as a way of integrating different art forms, such as photography, fine art, graphic design, fashion etc into one piece art work.
Siobhan :)
06/10/21


